I have always loved utilizing Gallery Walks in my world language classroom. I love them because they’re flexible, can be adapted for any unit, promote creativity, help my students build confidence in their writing…. and so much more.
Whether you’re here because you’ve never tried a Gallery Walk before or you’re looking for new strategies, keep reading! In this post you’ll find:
- A detailed activity tutorial, including differentiation strategies and digital adaptations
- A few reasons I love Gallery Walks, and how they help me reflect on my teaching practice
- Available no-prep Gallery Walks — these have all recently been updated to be digital friendly AND editable!
GALLERY WALK TUTORIAL
SETUP
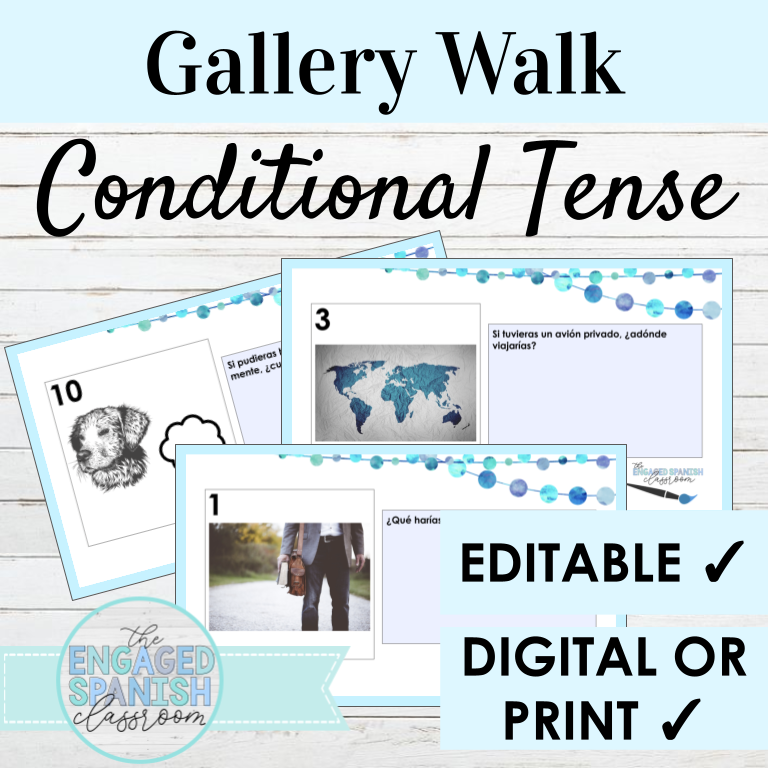
The traditional setup for this activity is *very* easy. You simply print a set of images (or prompts) that matches your current unit, and hang them around your room. I suggest 10 images total but this is flexible.
I usually hang them at eye level, and I try to be mindful about where I want my students gathering. Is there a corner that’s hard for you to see from the other side of the room? I don’t hang any there 🙂 Do you have a group of desks where it may be convenient for students to sit for a moment during the activity? I sometimes tape a few images directly to desk surfaces as well as the walls, windows, and whiteboards. Many teachers also use the hallways for this activity.
You decide what students will do at each prompt, and whether you print the images alone or with space for students to write ON the page on the wall. More about those options later.
I usually try to do Gallery Walks in all of my classes on the same day, and I use painter’s tape on the walls so that in between classes or during the warmup I simply walk around and exchange the images! I always keep my images from year to year to save on printing and time (in my very sophisticated plastic baggie system organized by unit).
MATERIALS
Students will either need a notebook to record their answers, or a tablet/other device. Alternatively, they will only need one pen per group and nothing else if you decide to have them contribute answers directly on the hanging printed page, and they would only need one device per group if you choose the digital option and allow them to collaborate as a group. It’s all up to you! More about these options below.
DIFFERENTIATION
First, decide what your students will be doing at each prompt. Do you have PHOTOS hanging alone, and they are to brainstorm based on a basic prompt you will give them for all photos? Or, alternatively, did you add sentence starters at each photo? Maybe there are multiple choice questions projected on the board that apply to all photos? Or a short reading perhaps? Are they matching short descriptions TO the photos? The possibilities here are endless; one of the many reasons I love this activity!
Next, decide whether your students will add their responses to the paper directly on the wall, or in their own notebooks (or maybe both!) By adding their work to the page on the wall, and calling for a “no repeating” rule… you are immediately adding a challenging aspect to this otherwise open-ended activity. Students now have to get more creative, more collaborative, and more focused. This is only appropriate for some units, of course, but I try to incorporate it when I can. I LOVE seeing how this added layer pushes them to seemingly be more engaged – they want to succeed!
You can also decide if the students will be working alone, with a partner, or in small groups. I personally always give the option of ALL groupings. Students can choose to work on their own, or with up to 3 classmates. My students always seem to prefer working in groups of 2-4, though sometimes a few students will choose to work alone. I always check in with these students just as I check in with the groups 🙂 Sometimes, a student may just want some quiet time with headphones as they work. That’s always ok with me, as long as they are OK and they are participating in the lesson.
Finally, establish how many prompts your students will be required to answer, and how much writing they must do per prompt. For example, I typically ask for 7-8 out of the 10 prompts (and I literally say to them “Please choose 7 or 8″… you’ll be surprised how many students do 8 or more!).
If you want to add specific challenges, this is the perfect activity to do so! I’ll sometimes write 4-5 random new words on the board. Maybe they are words we have seen before, or maybe they are totally new! I challenge my students to find ways to use these words *somewhere* in their responses. They love challenges like this! 🙂
I love these options because many of them provide for student choice. My students appreciate the freedom to have some control over their hour with me, and I appreciate the feedback they unwittingly give me with their choices.
Above, I mentioned that I often try to do Gallery Walks in various levels on the same day. That way, I simply exchange the images out under the painter’s tape during our warm-up in each class. Something else I sometimes try is utilizing the same gallery walk in different ways. So, I may have the same set of prompts hanging for the full week. Each day, as our warm-up, I provide a different set of instructions and ask students to complete just 2-3 photos instead of the typical 7-8. Again, the possibilities here really are endless!
DIGITAL OPTIONS
The first digital adaptation is still hanging the physical images/prompts around the room, but having your students complete their written work on their tablets or computers. You could have your class contribute to a dynamic Google Slides ™ document, and host a class discussion at the end where each group shares out their answer to a specific prompt.
Another digital option is creating a digital version of your Gallery Walk (see my examples here) where students can type directly into the document.
You can insist they each complete it individually, or allow them to collaborate on their group copy. To do this, I suggest sharing a force copy link with ONE group member, and then instructing that group member to open sharing settings for their copy, provide editing privileges, and share with their group-mates (and back with you so you can monitor progress!)
You can absolutely combine the digital option above with the traditional setup. There’s no reason students can’t move about the room, but type into their group digital copy 🙂 The best of both worlds, movement + ease of a digital layer.
Instructions
Once you have chosen your parameters, it’s time to instruct your students! Be sure to explain:
- Whether they working alone or in small groups
- Where they will find the prompts (Paper vs. Digital Gallery)
- How and where they are to record their answers
- How many prompts they must choose
- The amount you expect per prompt
- Any other special challenges you might want to add!
- How much time they have
- What resources they can use for support
- How your class will review after the activity
REASONS TO LOVE GALLERY WALKS
Movement
I love using Gallery Walks to get my students UP and moving. My high schoolers often moan and groan about “aw, do we have to get up?” but I notice that once they are actually up, they are usually more engaged! They seem happier, more confident, and I find I get more buy-in with my lessons. This is why you’ll notice a lot of my activities involve at least an option for movement. When they’re sitting all day every day… in one room and then the next… a little movement can be a great tool.
Collaboration
I also love giving my students the opportunity to collaborate in small groups. My students always sit in small groups as it is, but Gallery Walks allow them to work with different students and mix it up. I always tell my students that they can complete this activity on their own, in pairs, or in a group of 3 or 4 if they’d like. Sometimes a student may choose to put in headphones and complete the activity alone, and that’s just fine with me. (We all have times we need some quiet from the outside world.) But most often, they choose to work in small groups and I love hearing the collaboration and everyone contributing in the target language.
Creativity
There is very rarely just one right way to answer any of the photo / written prompts. The student creativity I witness during this activity makes me proud, makes me smile, and often even makes me laugh! Our students are so creative, and are often grateful for the opportunity to showcase that!
Student Choice
I never require that my students answer every single prompt they find. If I hang 10 prompts around the room, I typically ask them to choose 7-8. I love that this offers them some choice, but I mostly love that those choices are ALSO valuable to my lesson planning. I take note of the prompts my students skip. “Why did everyone skip 7?” I might ask myself, and I take time to reflect over whether we need more practice on a certain concept. My students don’t realize it, but their choices actually tell me a lot about where we are in our learning.
Confidence
I find my students are reluctant if I mention “creative writing”… but they never seem to hesitate when that creative writing is set up in a supportive and structured way, like a Gallery Walk! This style of activity gives them confidence in their writing abilities. Whenever possible, I try to actually use our Gallery Walk responses and BUILD upon them into another activity or discussion. If we had started from scratch, our results would not be as wonderful as when we start from a structured and confidence-building activity like this 🙂 And when I show my students what we’ve created from THEIR work… they are always so impressed with their own work.
Flexibility
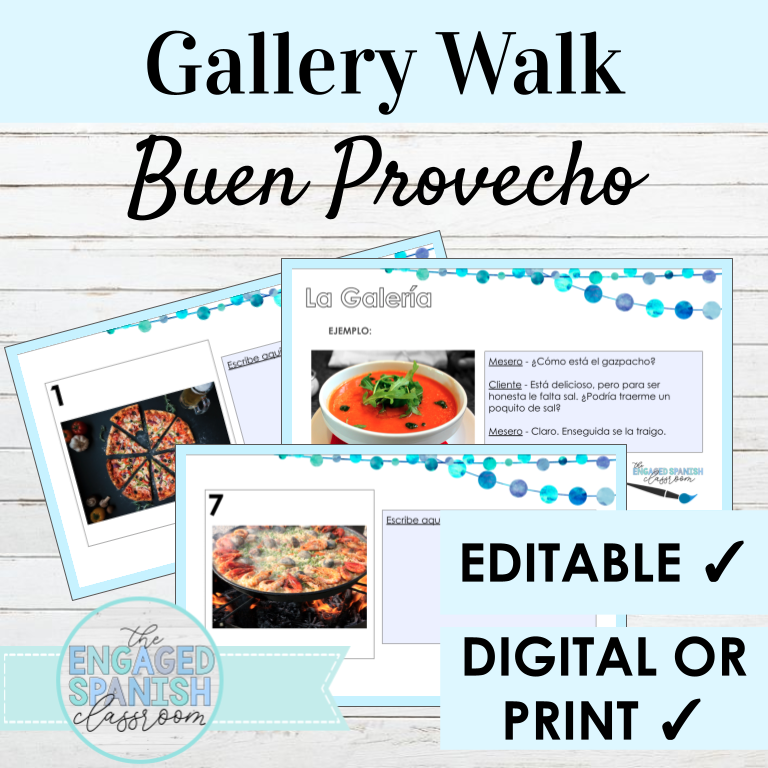
There are so many ways to customize these activities for your own classes, and many more positives you may find that I haven’t mentioned here. You decide how much structure you offer. Are you just offering photos, or are you also providing sentence starters or a short reading? You decide what you ask of your students. Is this something quick that will take ten minutes, or have you turned it into something that can last an entire class period or more? AND, you can even adapt the activity into something else entirely and use it multiple ways! For example, my Buen Provecho resource has an answer key that would work great for a match-the-convo-to-the-photo reading activity. Just delete the numbers from my answer key, and scramble! You could do this before completing the traditional Gallery Walk, or after! The possibilities. Are. Endless.
Available Pre-made Sets
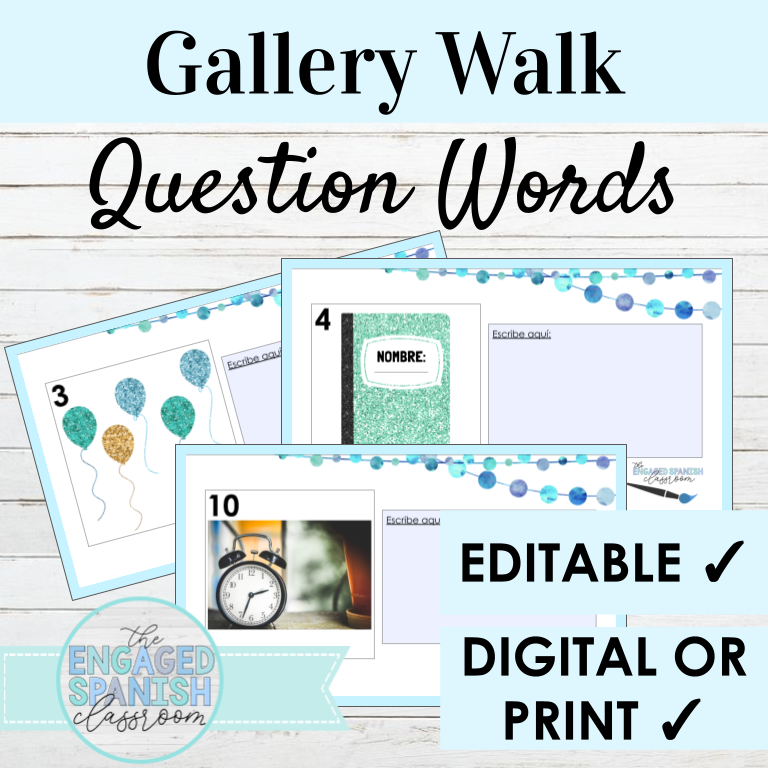
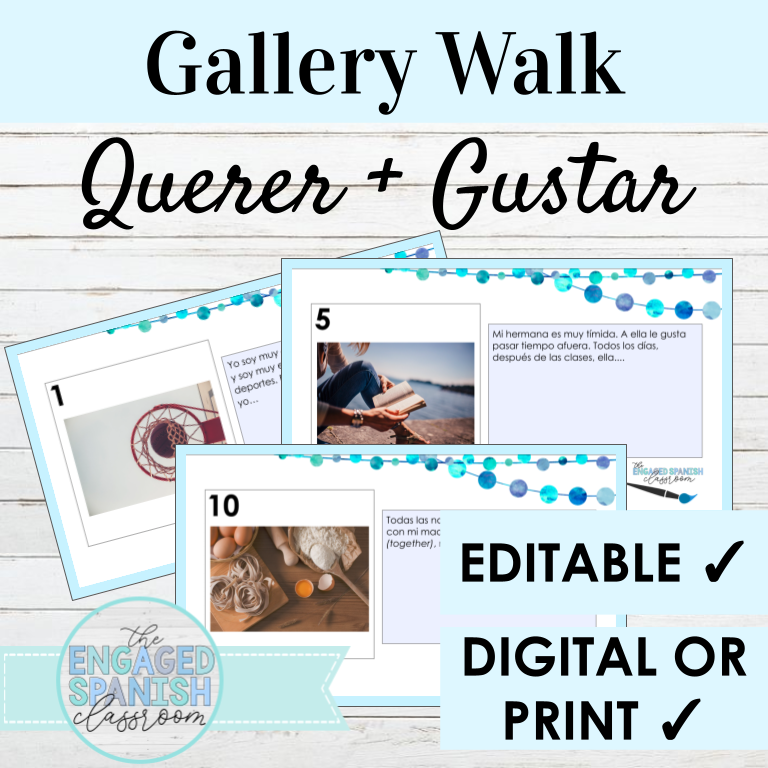
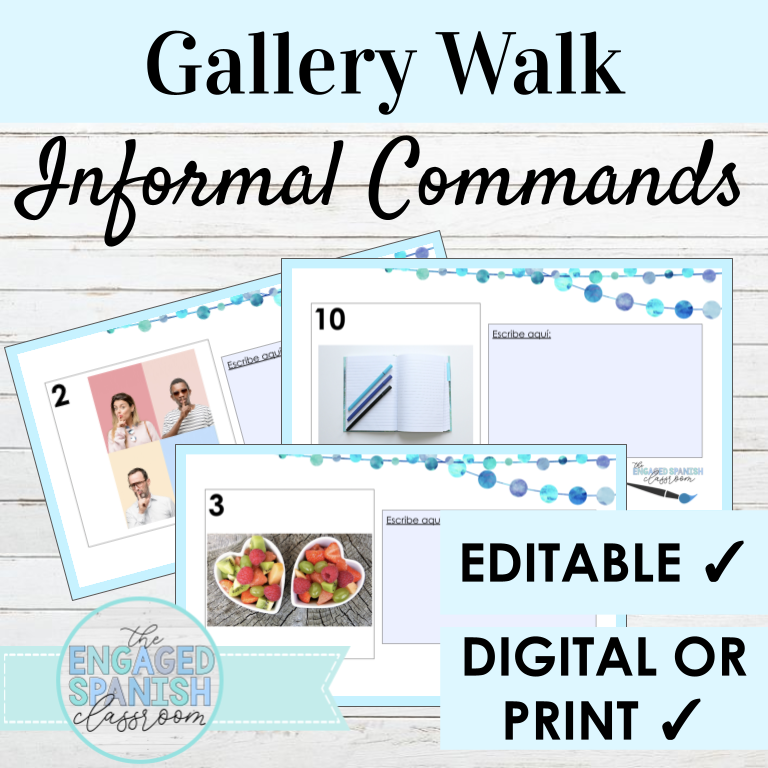
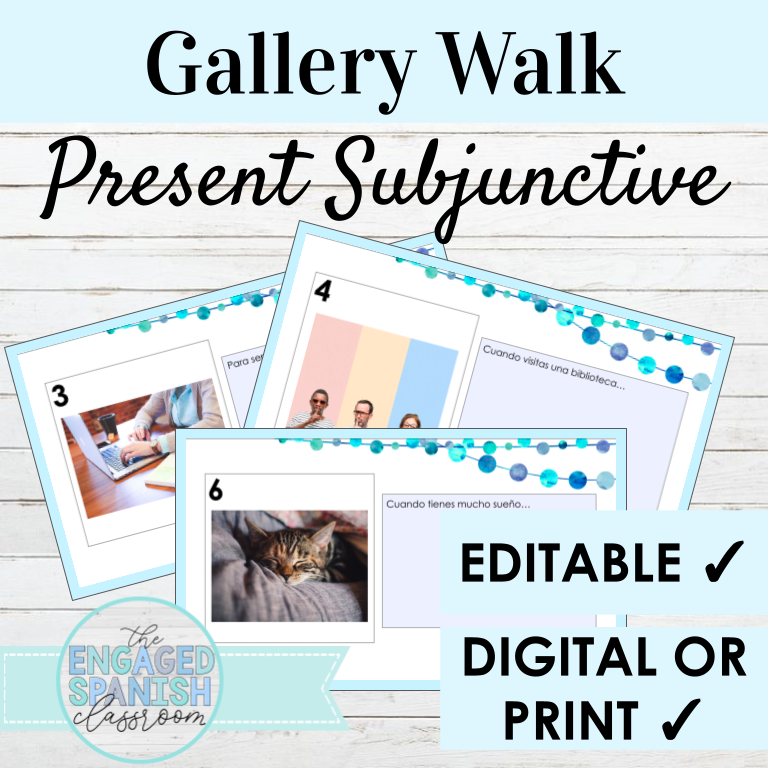
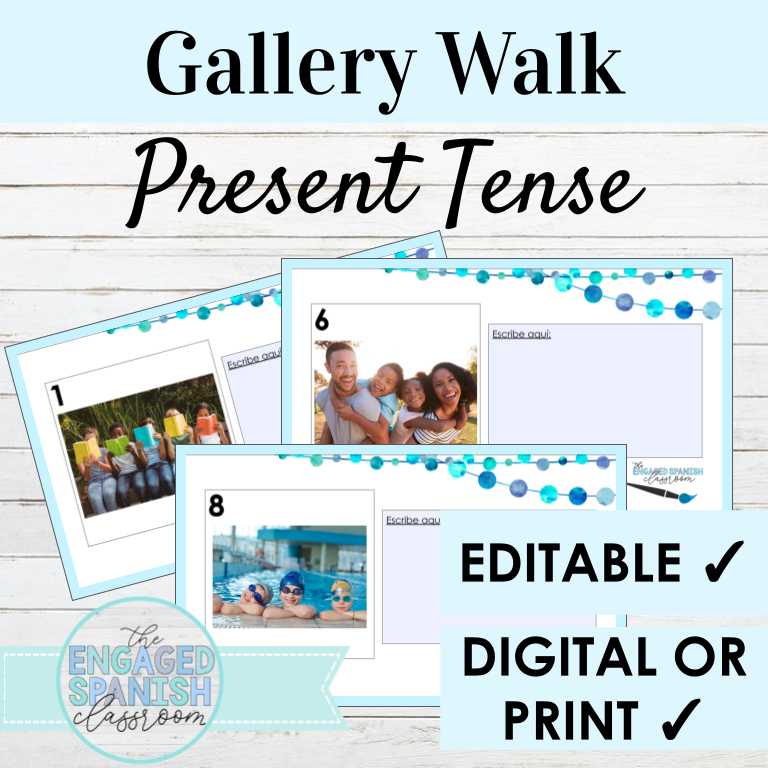
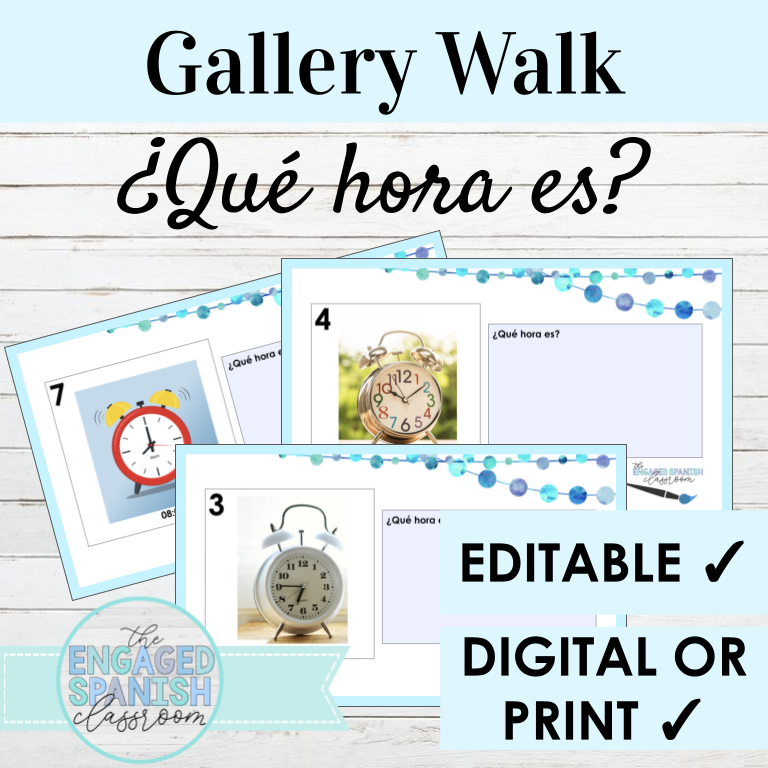
If you’d like to download editable and digital Gallery Walks (with instructions and sample answer keys included,) look no further! I have various options for all levels of Spanish class. I am sure there is something that will work for your students, and I am working on more as we speak!
All of these resources were just updated AND made editable, so be sure to take a look! You can click each image to learn more. (All text is editable, graphics are fixed.)
If you have a request for me to make a specific Gallery Walk set, feel free to contact me. You can find me on IG, click contact at the top of this page, or write to me at erin@theengagedspanishclassroom.com !
Ready to go!
Have fun, Profe! You’ve got this 🙂 I hope these resources and differentiation strategies have given you a few new ideas to try, even if you’re a seasoned Gallery Walk user!
Make sure to check your “My Purchases” tab on TPT to get access to the recent (free) digital updates to these activities.
If you decide to play with your students, feel free to share with me on social media by tagging @theengagedspanishclassroom on IG or FB, or @engagedspanish on Twitter! I’d love to see how you adapt this activity for your own classes.
Talk to you soon!


