


My sister Patti teaches science, and called me recently to give me this idea of a flexible grouping activity. She was begging me to make this for Spanish students, because she tried it in her science classes and her students LOVED it! Her exact words were “Please trust me, please try this. The kids will LOVE IT.”
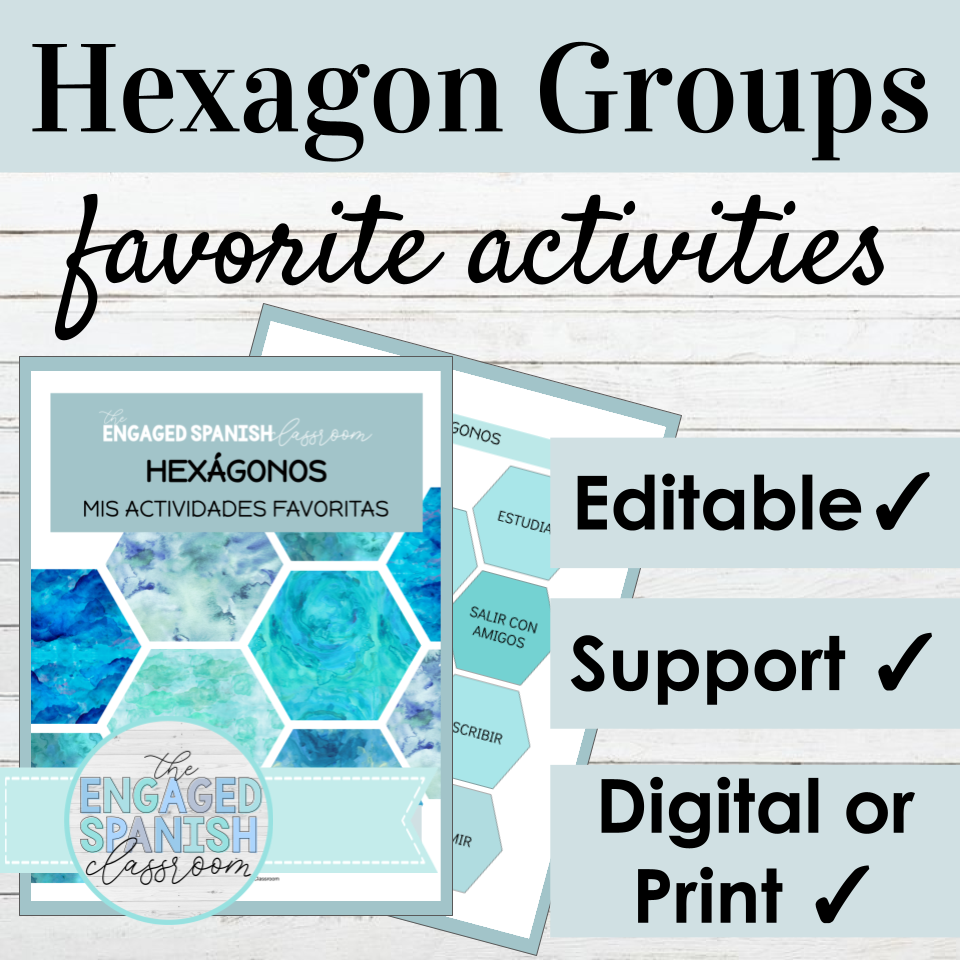
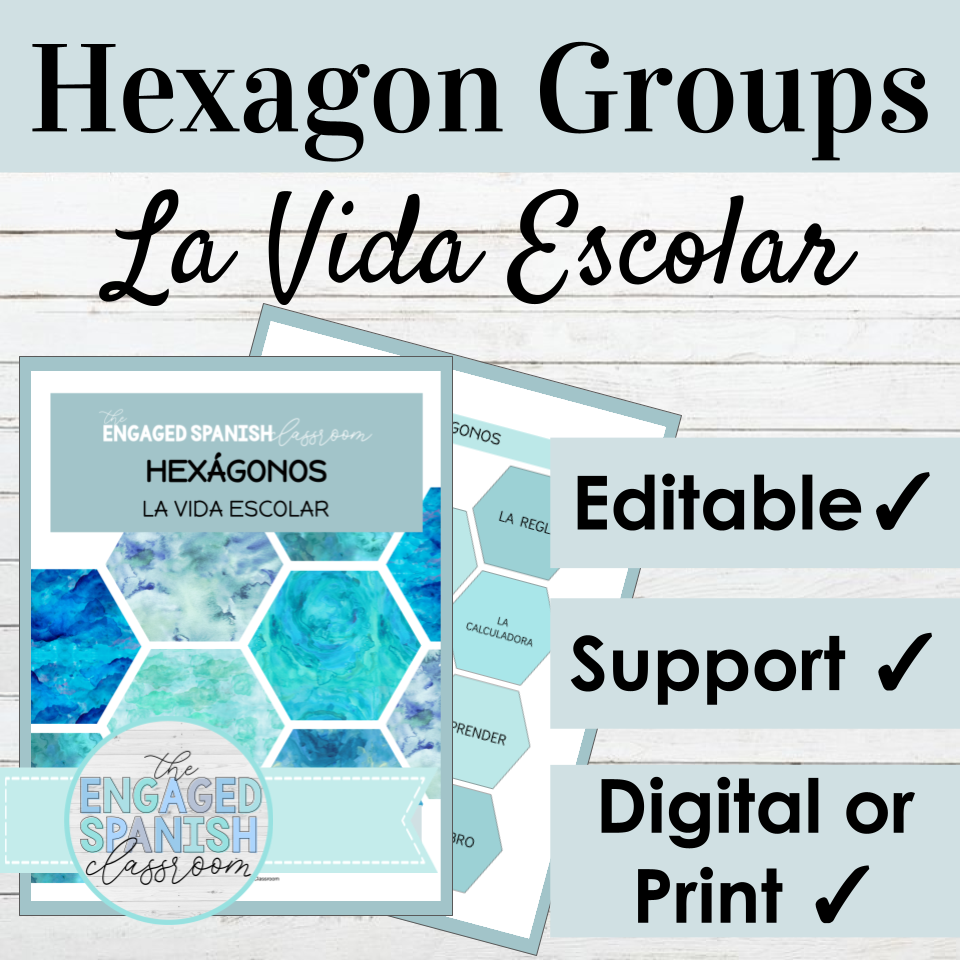
I dragged my feet a bit, but a few weeks after talking to her this idea was stuck in my head. I designed Hexágonos to practice Hexagon Grouping in Spanish class. Hexagons work well for this activity because they fit well together to create groups of any size.
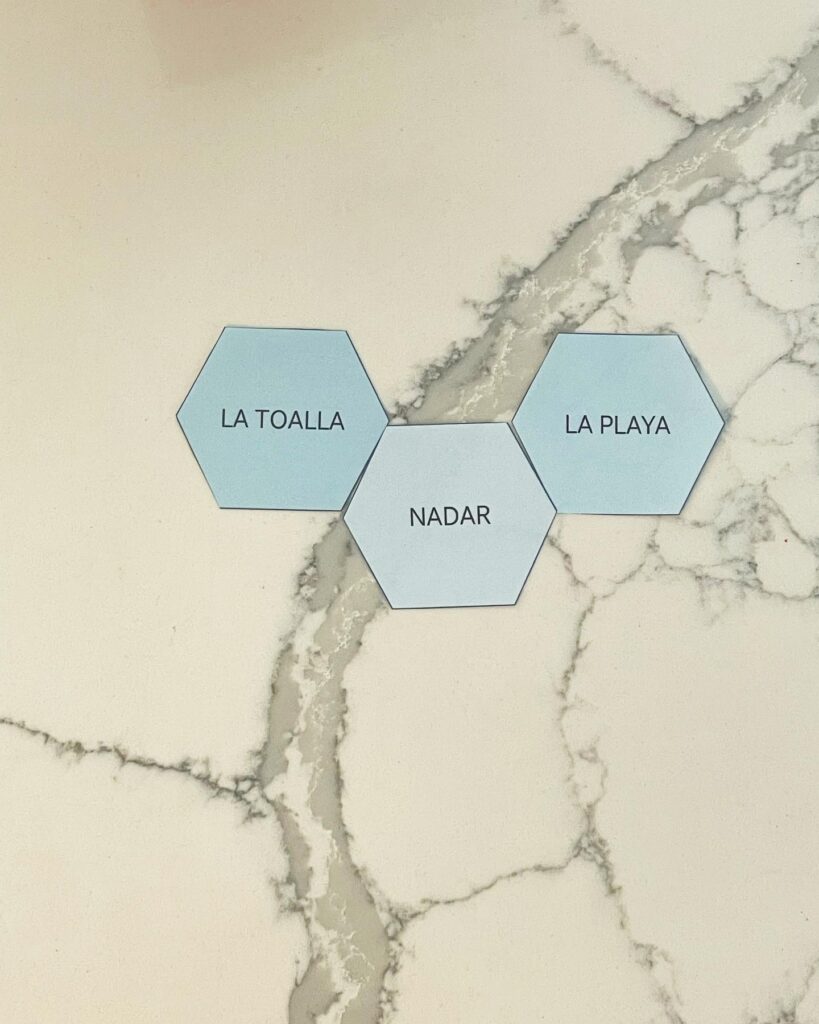
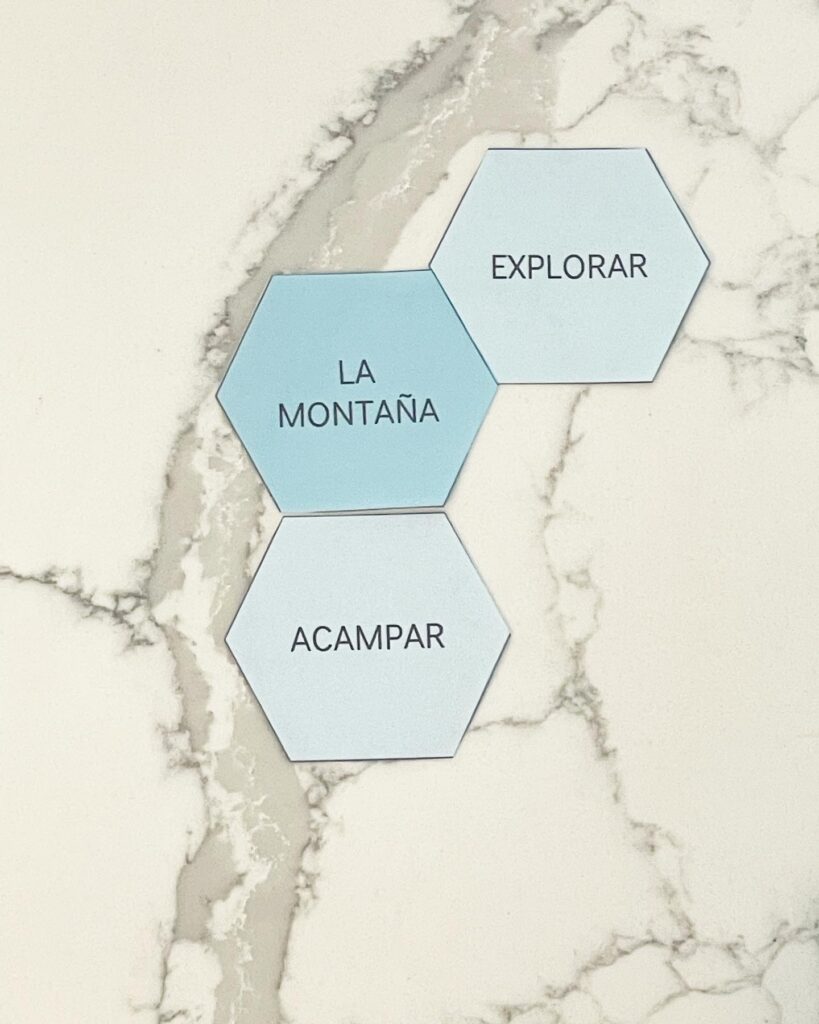
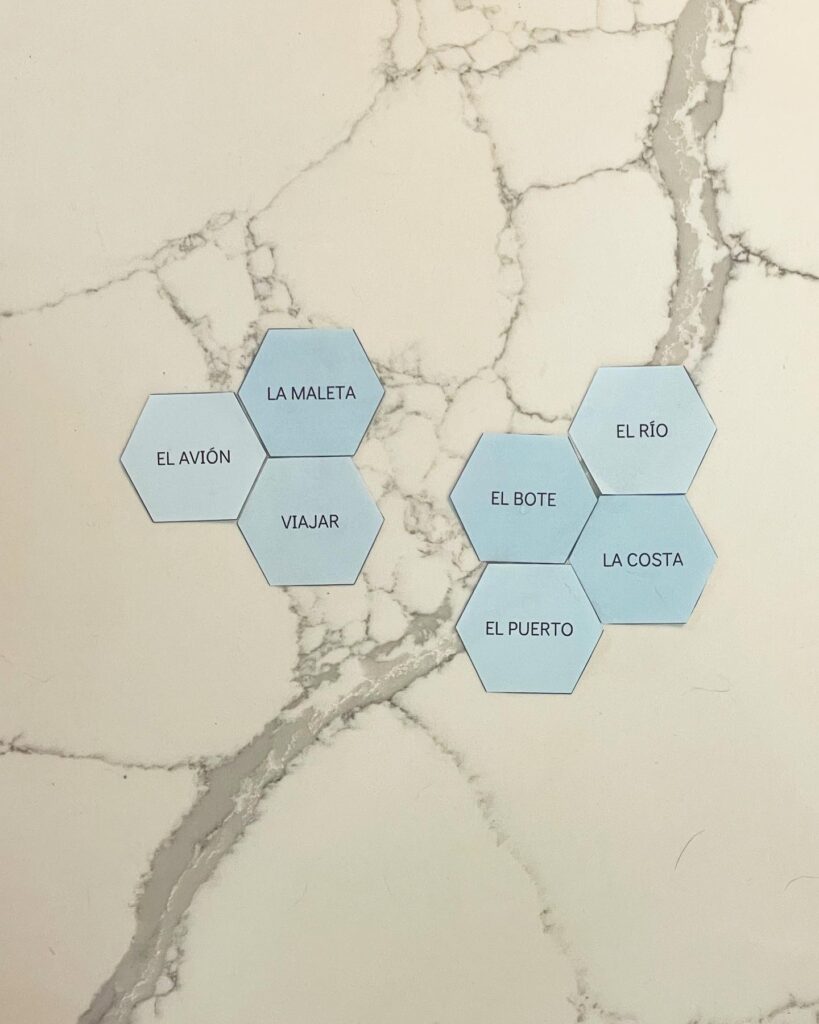
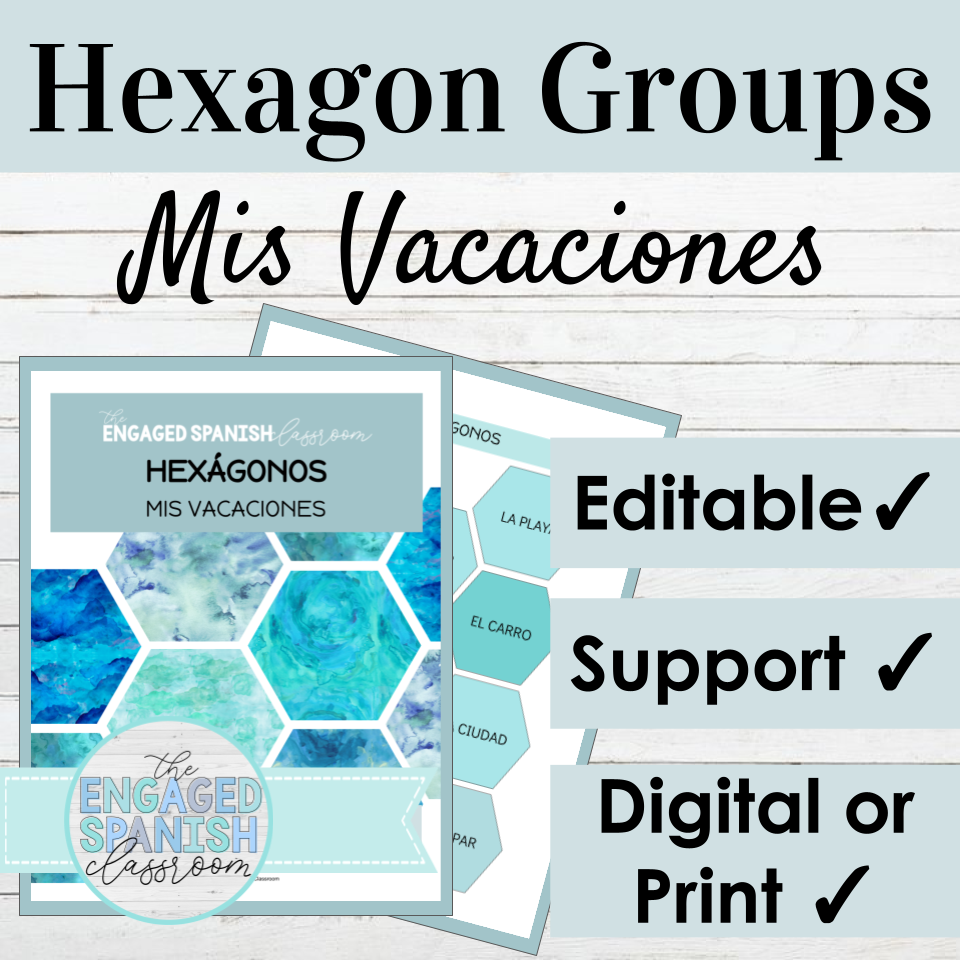
(Shown in images throughout this post – Hexágonos – Mis Vacaciones.)
SETUP
(Keep reading for a detailed walkthrough – this is the setup before the activity, when you open the document and get going with your students!)
Open your PDF download of Hexágonos. Inside, you will find a teacher page, visual examples, and a student support page to project while students are working.
You will also find a list of 33 vocabulary words. These are the key to this activity.
If your students will be completing the activity by hand, print and cut out one set of 33 hexagons per group. Students don’t need ANYTHING other than the hexagons! (Well, a flat workspace is a good idea.)
If your students are working digitally, share the PDF with them and instruct them to click the link that says “click here to make your own editable copy.” Students only need one copy per pair or small group.
To complete digitally, students use the digital workspace included in their editable copy. There is space provided for them to create 4 Hexagon groups, and they can easily copy and paste additional pages as needed. To create their groups, students are able to simply CUT/COPY and PASTE the digital hexagons from the starting place to the group they organize.
Differentiation: if using the digital version, you can allow students to repeat hexagons! Simply copy and paste the same vocabulary word in various groups, if it applies 🙂 Don’t like this option? Use the print and play option, OR play digitally and tell your students that each hexagon can only be used once.
Grouping: This can be done in pairs or small groups. I recommend 2-3 students per group.
Timing: I recommend giving students 10 minutes to organize their groups. From there, you have a few options. You can have a class discussion where students explain their groupings: OR — before a class discussion, challenge your students to take 5 additional minutes to try to completely mix up their groups! Then, during class discussion, they can describe their original grouping plan and explain their adjustments during round 2.
HOW IT WORKS
Each hexagon has one vocabulary term or phrase written on it. Students look at the 33 hexagons in front of them (whether digital or on paper) and think creatively to organize the vocabulary into groups.
There are no right answers, and there are no wrong answers! All student groups may come up with different combinations! Your students will surprise you with their thinking process.
Motivate students to discuss with their partners and try to think of groups that allow for the use of the most hexagons possible out of the 33.
I suggest giving students 10 minutes to separate their hexagons into groups, using as many of the hexagons as they can. They may separate them into 2 groups, 3 groups, or more! As students gain more confidence with this activity, they will routinely challenge themselves to think of 3+ groups instead of just A/B groupings. With that being said, it’s not a bad thing if students just use two groups! That’s still GREAT 🙂
After the ten minutes, ask students to describe their groups to the class. In classes that are hesitant to speak, students are usually VERY excited to share their thought process in this activity! This is a great way to help bring your quieter classes out of their shells. On the other hand, it’s a great way to organize your rowdier classes and get them focused and engaged in a collaborative activity.
Another small challenge I mentioned above as a differentiation option: after your students have their groups set, and before the class has any discussion, challenge your students to speak about alternative groups they could have made.
I can’t wait to hear how it goes! See all of my available (AND EDITABLE) sets below!!!
EXAMPLE
Let’s say two students (or pairs of students) were given the same list of words below.
Can you see how they chose to group them differently? Can you see how there are no right/wrong answers?
Can you think of other possible groupings? I’m sure you can!!!
This is a wonderful opportunity to motivate students to think critically!
AVAILABLE ACTIVITY SETS
Looking for free resources to try?
Thanks for reading!
I hope you found something new to try! Be sure to join my newsletter by signing up above – and as always, REPLY to any of my emails to let me know how you’re doing or to request a specific resource! Happy to help support you and your students! Reach me on Instagram @theengagedspanishclassroom, or email me erin@theengagedspanishclassroom.com

4 Comments
Always to happy to learn more fun ways of teaching Spanish. I have been teaching 28 years however I have been teaching Spanish for about 15 years now. ]
Trying new stuff. I am a high school teacher so I teach 9th through 12th both Spanish 1 and Spanish 2. We use Avancemos but I have many other resources as well.
I am so glad you liked this post 🙂 We are ALL lifelong learners and ready for new ideas!
I love this idea! Thank you for sharing.
When you have the students present why they grouped the terms in the categories, do they explain in this in Spanish or in English?
It depends on the level, but usually English! If it is a more advanced class, for example, I may ask them to give some reasons in Spanish if they are able 🙂